A Comprehensive Guide to Assembling the Lehuo Scooter for Kids
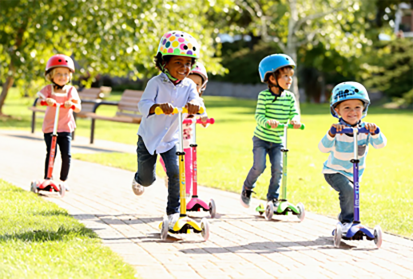
The Lehuo scooter is a fantastic choice for kids who are eager to explore the great outdoors while honing their balance and coordination skills. With its vibrant design and lightweight frame, it's not only visually appealing but also practical for young riders. However, the assembly of the scooter can be daunting if you're not familiar with the process. In this article, we'll guide you through the steps to assemble the Lehuo scooter to ensure a safe and enjoyable ride for your child.
Step 1 Unboxing and Checking Components
Before you begin, it’s essential to unbox the scooter carefully. Lay out all the components on a flat surface to ensure you have everything you need. Typically, a Lehuo scooter will include the main body (deck), handlebar, wheels, and various tools like screws and wrenches. Refer to the instruction manual provided in the box to make sure you have all the necessary parts.
Step 2 Attaching the Wheels
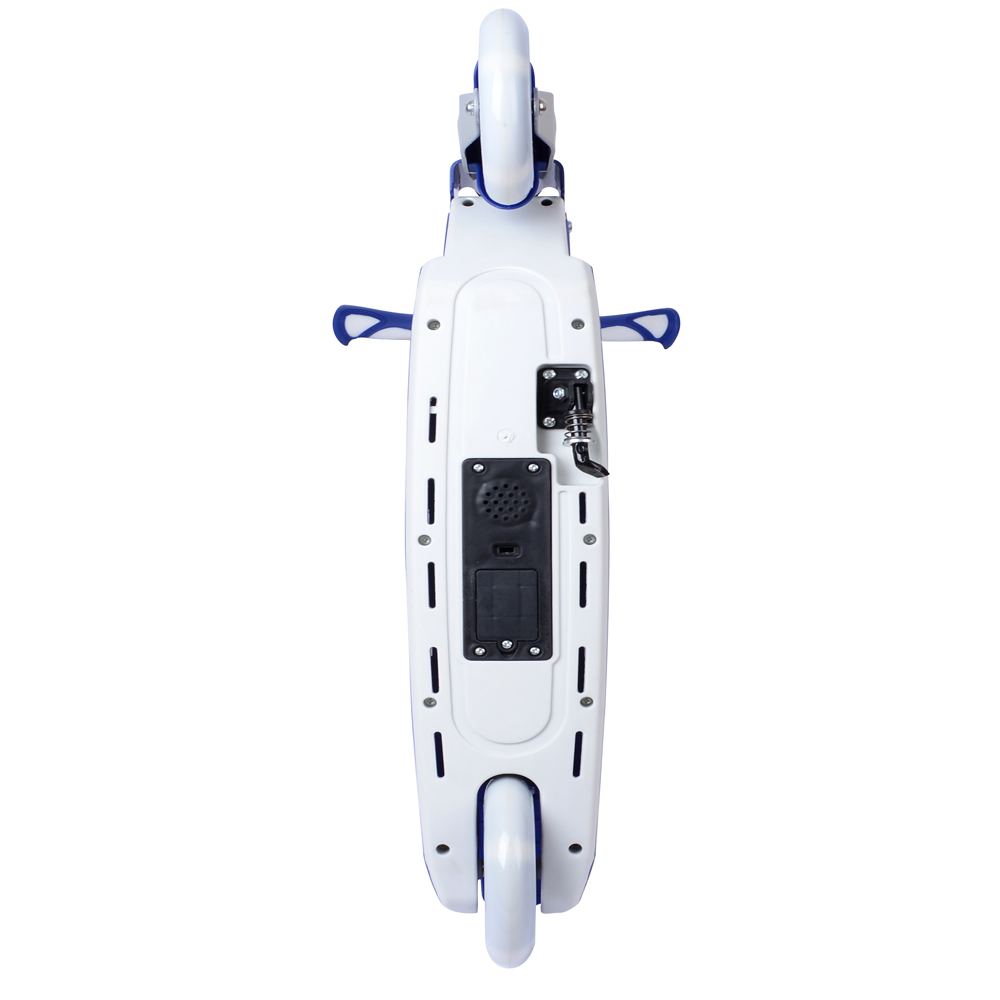
The first step in assembly is to attach the wheels to the deck. Each scooter typically comes with two front wheels and one back wheel. Locate the screws in the assembly kit and line up the wheels with the holes on the bottom of the scooter deck. Ensure that the wheels spin freely after securing them with the screws. Use the wrench provided in the kit to tighten the screws adequately, but take care not to overtighten as this might obstruct the wheel's movement.
Step 3 Attaching the Handlebar
Next, it’s time to attach the handlebar to the main deck. Align the handlebar with the designated slot on the deck. Insert the handlebar into the slot and ensure it clicks into place. Most Lehuo scooters come with an adjustable handlebar feature, allowing you to set it at a height that is comfortable for your child. Secure the handlebar using screws; this is crucial as it ensures stability when your child is riding the scooter.
lehuo scooter for kids assembly
Step 4 Checking the Brake System
Safety is paramount when it comes to riding a scooter. After assembling the wheels and handlebar, ensure that the brake system is functioning correctly. The Lehuo scooter typically includes a rear foot brake. Test the brake by applying pressure to see if it engages smoothly. If needed, adjust the brake cable tension to achieve better responsiveness. This is a simple yet vital step that will enhance your child's safety while enjoying their new scooter.
Step 5 Final Adjustments and Safety Checks
With the main components attached, it’s time to conduct a final check. Inspect all bolts and screws to ensure they are tightly secured. Additionally, check the wheels again to confirm they spin smoothly without any obstruction. Ensure that the handlebar is stable and does not wobble. It’s also a good idea to check the weight limit specifications for the scooter to guarantee that it is suitable for your child’s age and size.
Step 6 Personalizing the Scooter
Once the assembly is complete, it's fun to personalize the scooter. Whether it's adding stickers, a bright helmet, or colorful grips, personalizing the scooter can make riding even more enjoyable for your child. This can also enhance their sense of ownership and attachment to the scooter, encouraging them to use it more often.
Conclusion
Assembling the Lehuo scooter for kids can be a straightforward process if you follow the instructions carefully. With all parts in place and safety checks performed, your child will be ready to hit the pavement with confidence. Riding a scooter is not only a thrilling activity, but it also promotes physical fitness and social interaction. So grab your tools, put on your safety gear, and enjoy the family bonding experience that comes with assembling and riding the Lehuo scooter. Happy scooting!
-

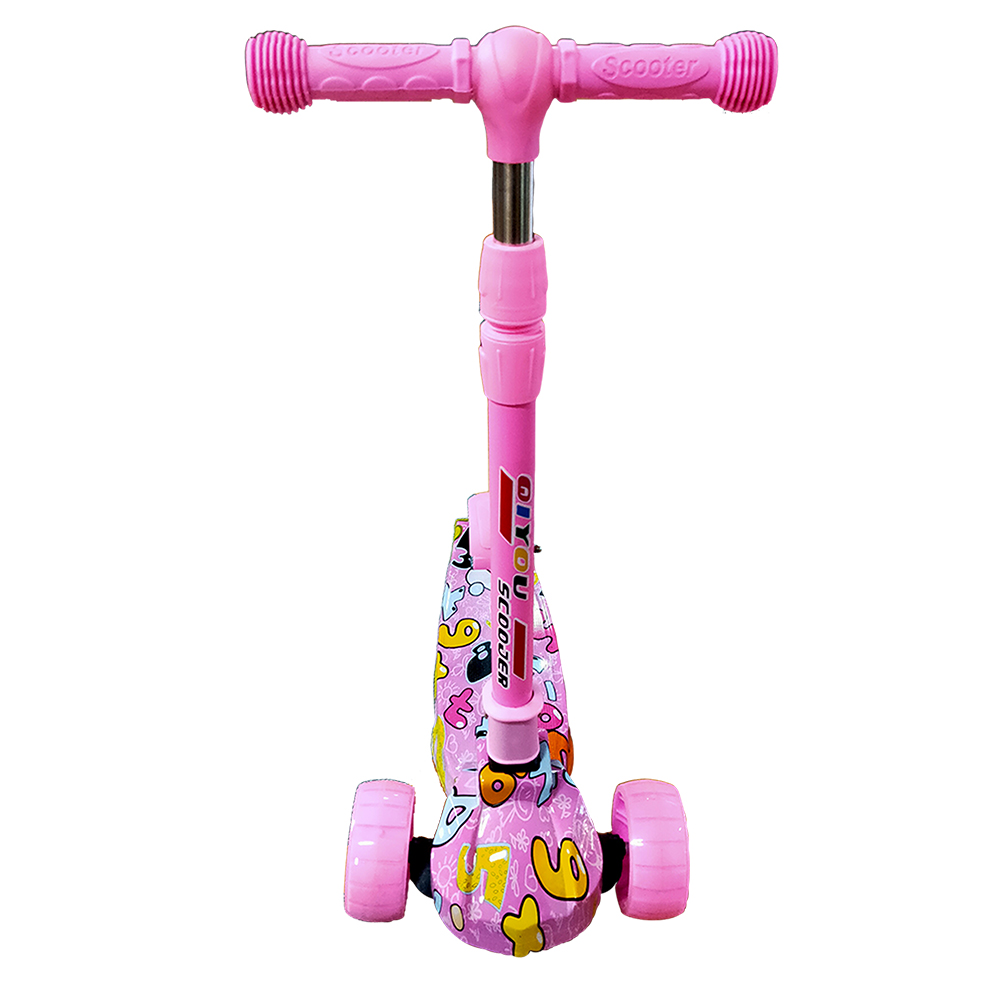 Scoot&RideKids Child Kick Push Scooter 3 Wheels with LED Flashing Tilt Lean Boys Girls Scooter


- 4
$33.17 -

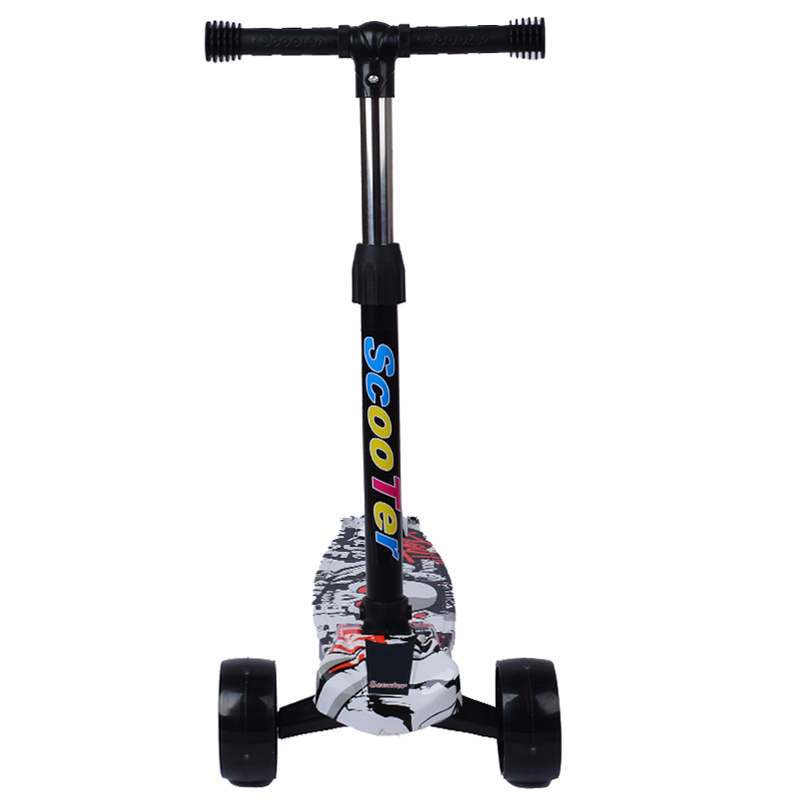 Scoot&RideKids Scooter Child Kick Flashing LED Light Up 3 Wheel Push Adjustable Folding 3
- 0
$25.52 -

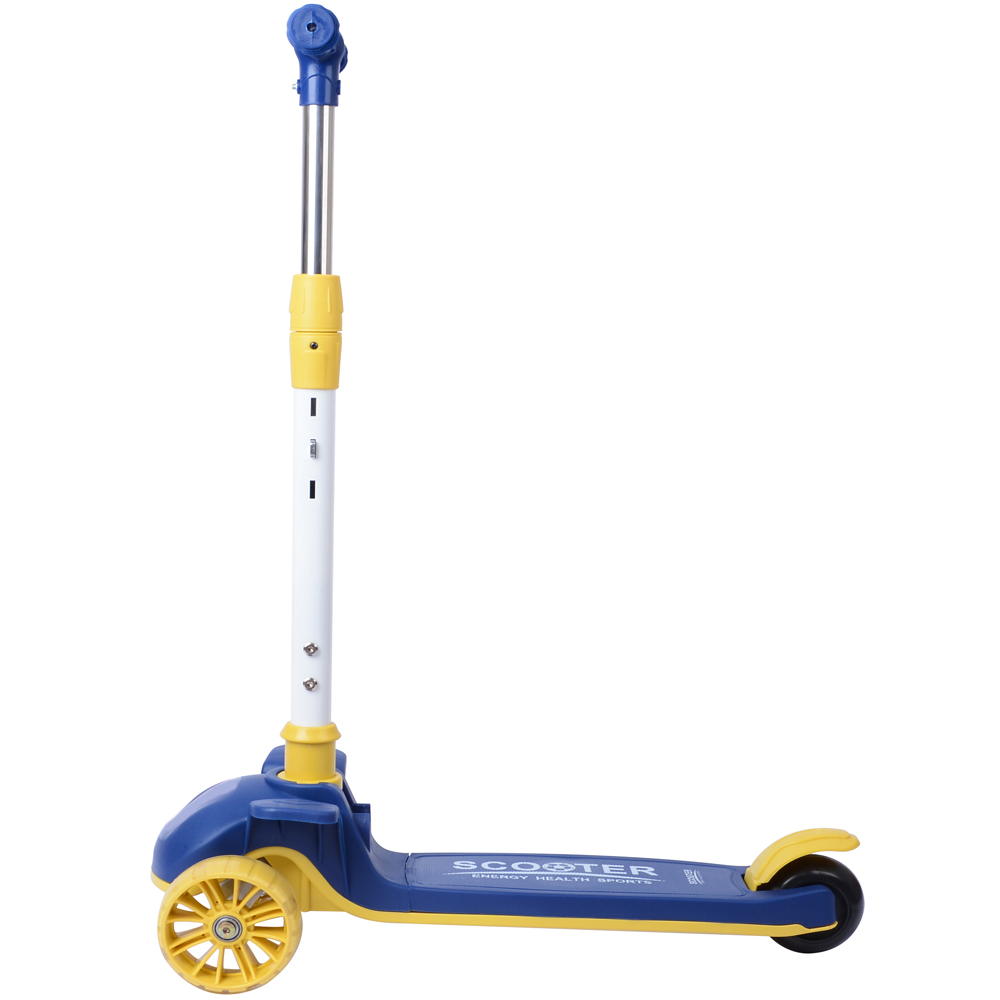 Scoot&RideKids Scooter Child Kick Flashing LED Light Up 3 Wheel Push Adjustable Folding 2
- 0
$33.17 -

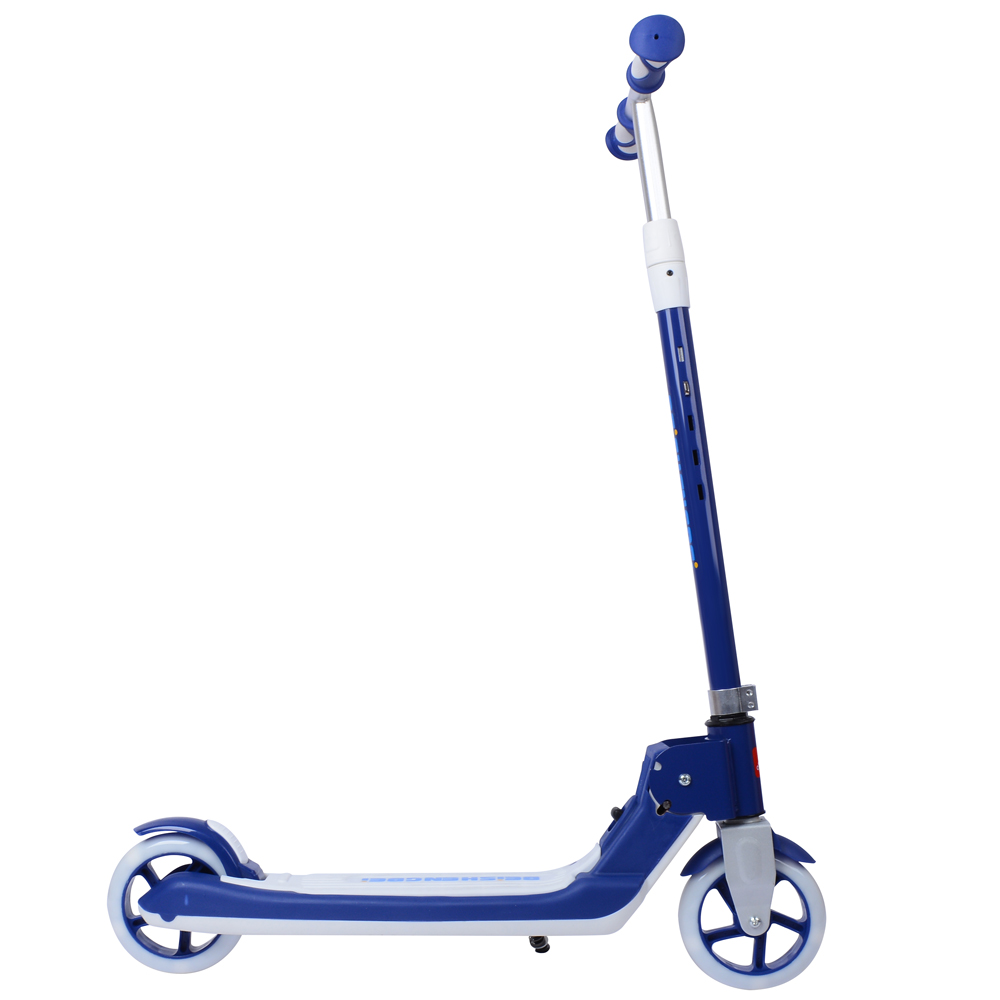 Scoot&RideKids Scooter Teens Foldable Kick Push Scooter Adjustable Height Safe 2 Wheels


- 4
$49.99
Meet our partners and discover what powers their creativity!
When you register for a Lohas scooter, you will receive a 10% discount on your first order and can be notified of sales, new product launches and other offers in advance.


