Assembly Guide for the Halo JR Scooter
The Halo JR scooter is an excellent choice for young riders looking for a fun and safe mode of transportation. With its vibrant design and sturdy build, this scooter promises hours of enjoyment. However, before your child can hit the streets, proper assembly is crucial. This article will guide you through the step-by-step process of assembling the Halo JR scooter, ensuring a hassle-free experience.
What You Will Need
Before you start assembling your scooter, make sure you have the following tools ready
1. A Phillips head screwdriver 2. An Allen wrench (usually included in the package) 3. Safety glasses (optional but recommended)
Step 1 Unboxing and Checking Components
Start by unboxing the scooter and laying out all the parts on a clean surface. Typically, you should find
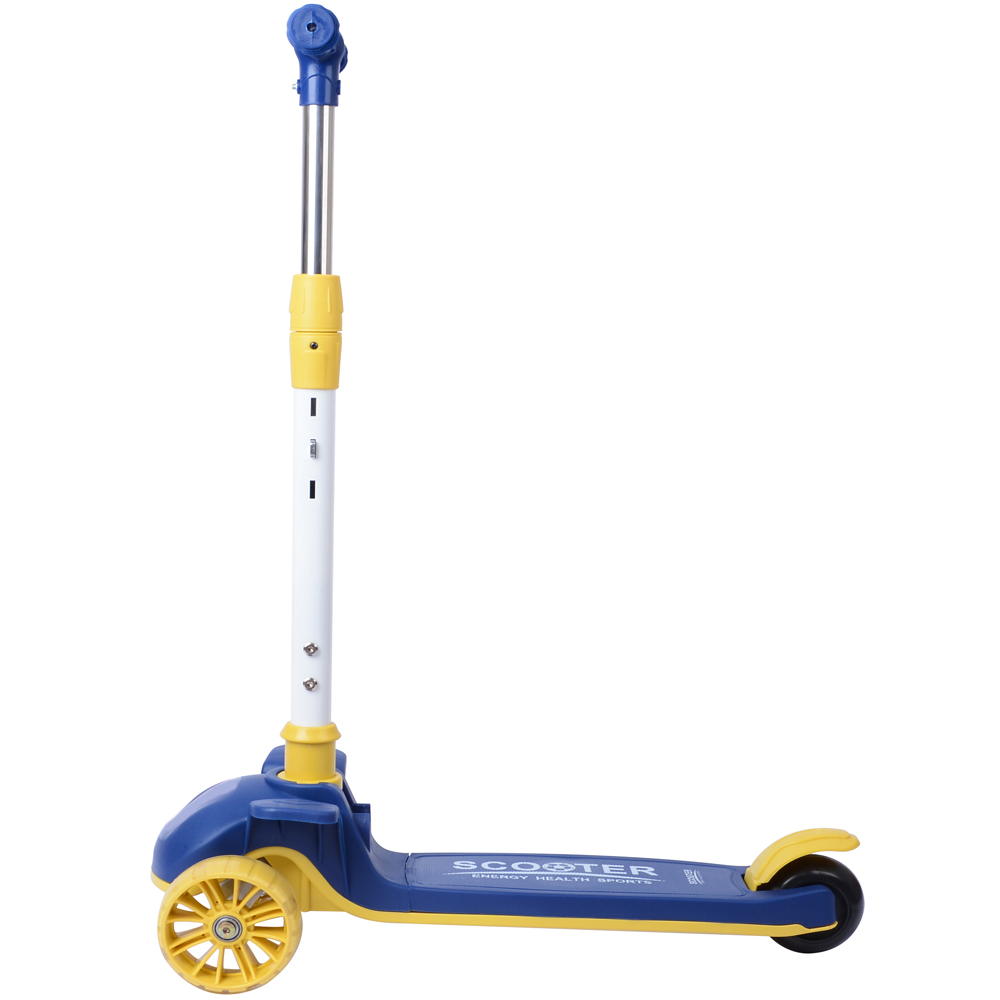
- The scooter deck - Handlebars - Front wheel - Rear wheel - Wheel axle with nuts - Brake assembly - Any additional accessories
Examine each piece to ensure there are no defects or missing components. Refer to the user manual for a complete list of parts.
Step 2 Attaching the Front Wheel
Begin assembly by securing the front wheel. Locate the front fork on the scooter deck. Align the front wheel with the fork and insert the axle through the wheel and into the fork. Tighten the nuts securely on either side using the wrench provided. Make sure the wheel spins freely and isn’t too tight.
Step 3 Mounting the Handlebars
halo jr scooter assembly

Next, it’s time to attach the handlebars. Slide the handlebars into the designated slot at the front of the scooter. Ensure that they are aligned straight for optimal steering control. Once in place, insert the screws and use the Phillips screwdriver to tighten them. Double-check that the handlebars are secure before moving on; any looseness can compromise safety.
Step 4 Installing the Rear Wheel
Now, you’ll attach the rear wheel using a similar process. Identify the rear fork and repeat the wheel attachment step. It’s crucial to make sure the rear wheel is aligned properly and secured tightly. Ensure that the brake assembly is also positioned correctly, with the brake pedal accessible.
Step 5 Activating the Brake System
The brake is a vital component for safety. Check the brake system by pulling the brake lever to ensure it grips the rear wheel effectively. If it feels too loose, adjust the tension and confirm that it activates smoothly when engaged. Remember, effective brakes can prevent accidents.
Step 6 Final Checks
Once everything is assembled, take the time to check all parts again. Test the wheels to ensure they spin freely, and confirm that the handlebars are secure and turn smoothly. It’s also a good idea to examine the scooter for any loose bolts or uneven components.
Step 7 Safety First!
Before your child steps onto the scooter, make sure they are equipped with appropriate safety gear, including a helmet, knee pads, and elbow pads. Teach them the basics of riding, such as balancing, steering, and safe braking techniques.
Conclusion
Assembling the Halo JR scooter is a straightforward process that can be enjoyable for both parent and child. Following these steps will not only ensure the scooter is built correctly but also enhance the overall riding experience. With the right assembly and safety precautions, your child will be ready to embark on their scooter adventures confidently. Happy riding!
-

 Scoot&RideKids Child Kick Push Scooter 3 Wheels with LED Flashing Tilt Lean Boys Girls Scooter


- 4
$33.17 -

 Scoot&RideKids Scooter Child Kick Flashing LED Light Up 3 Wheel Push Adjustable Folding 3
- 0
$25.52 -

 Scoot&RideKids Scooter Child Kick Flashing LED Light Up 3 Wheel Push Adjustable Folding 2
- 0
$33.17 -

 Scoot&RideKids Scooter Teens Foldable Kick Push Scooter Adjustable Height Safe 2 Wheels


- 4
$49.99
Meet our partners and discover what powers their creativity!
When you register for a Lohas scooter, you will receive a 10% discount on your first order and can be notified of sales, new product launches and other offers in advance.


