Assembly Guide for the Curve 3% Wheel Scooter
As urban commuting grows increasingly popular, many individuals are turning to scooters as an efficient and eco-friendly mode of transportation. The Curve 3% Wheel Scooter has emerged as a favorite among users for its smooth ride, maneuverability, and stylish design. However, the assembly process can be challenging for those who are not technically inclined. This guide will walk you through the step-by-step assembly of the Curve 3% Wheel Scooter, ensuring you get on your ride in no time.
Unboxing Your Scooter
Once you have received your Curve 3% Wheel Scooter, the first step is to unbox it carefully. Begin by laying out all the components to ensure nothing is missing. You should find the following items inside the box
1. The scooter deck 2. The handlebars 3. Front wheel 4. Back wheels 5. Brake assembly 6. Hardware kit (bolts, nuts, and tools) 7. User manual
Make sure to double-check the contents against the instruction manual before proceeding
.Step 1 Assembling the Front Wheel
Begin by attaching the front wheel to the scooter deck. Locate the wheel hub and the corresponding axle. Insert the axle through the wheel, then align it with the holes in the scooter deck. Secure the wheel in place using the provided nuts and bolts. Use a wrench to ensure that the wheel is tightly fitted, as a loose wheel can impact your safety while riding.
Step 2 Installing the Handlebars
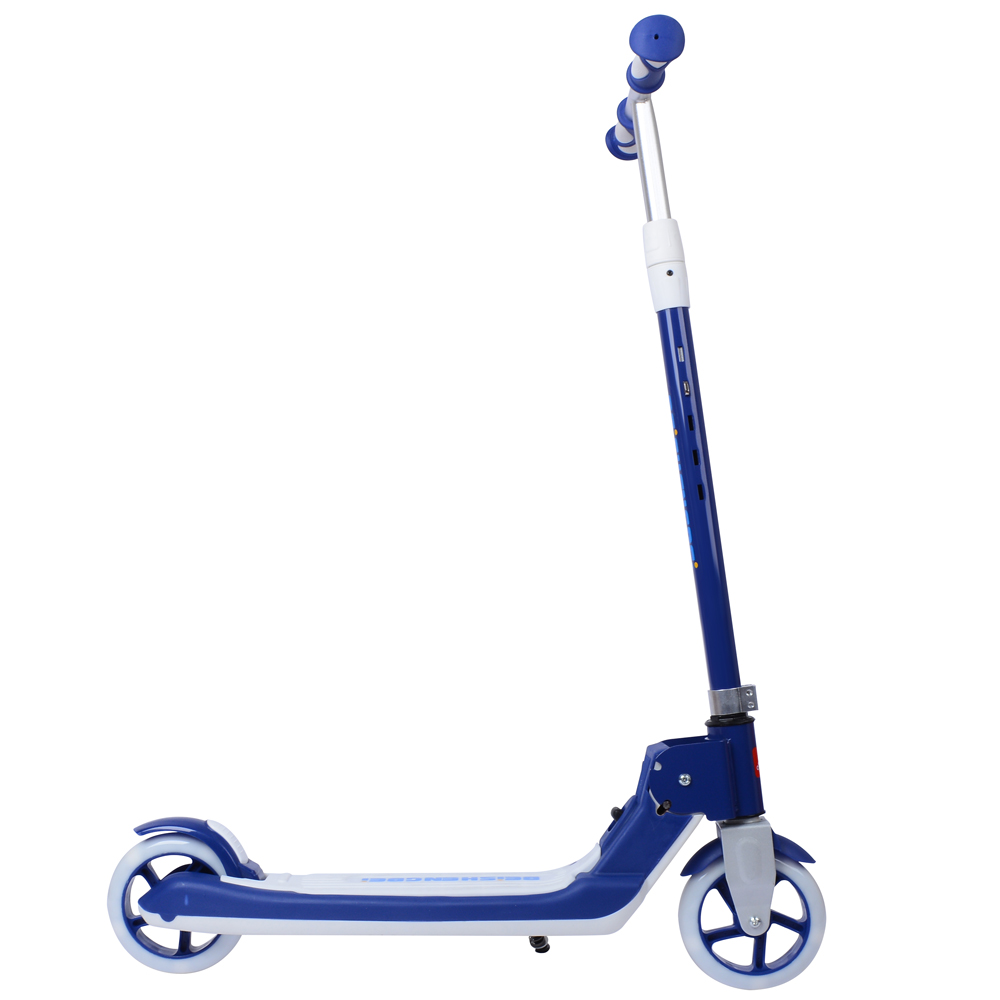
curve 3 wheel scooter assembly
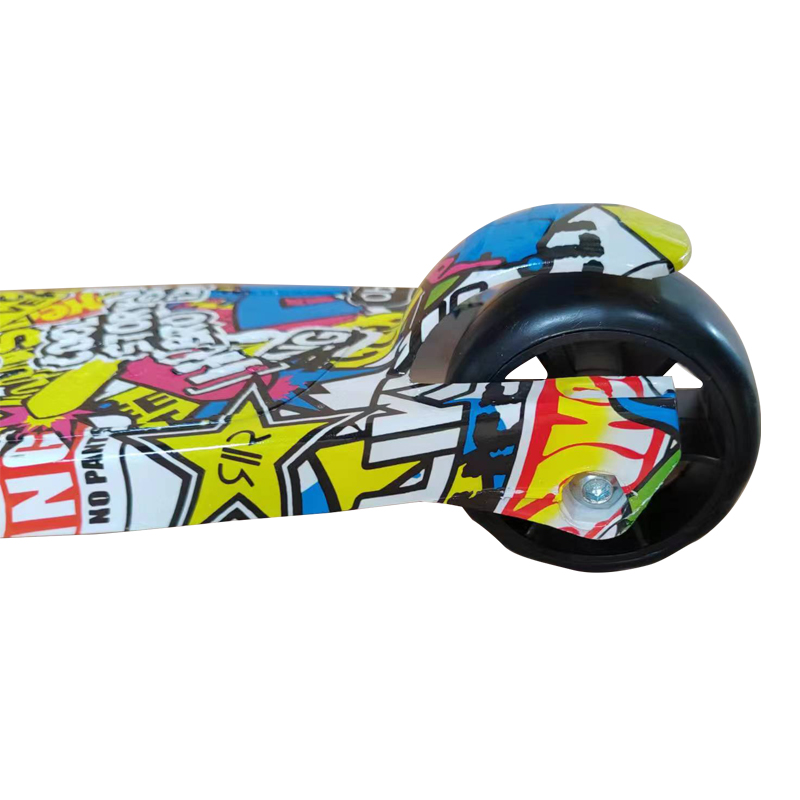
Next, it's time to install the handlebars. Locate the handlebar post that fits into the designated upright slot on the scooter deck. Insert the handlebars into the slot and secure them using the provided screws. Make sure that the angle of the handlebars is comfortable for you. A properly positioned handlebar enhances handling and offers better control while riding.
Step 3 Attaching the Back Wheels
The Curve 3% Wheel Scooter typically features two back wheels for added stability. Each wheel should have a hub that fits snugly into the rear axles. Similar to the front wheel, slide the rear axles through the wheels and into the scooter's rear section. Secure them with the included nuts and bolts. This ensures that the wheels rotate freely without any obstruction.
Step 4 Installing the Brake Assembly
Safety is paramount when riding a scooter, which is why the brake assembly must be installed correctly. Identify the brake components, which typically include a brake lever, cable, and the brake pad. Attach the brake pad near the rear wheel, positioning it so that it can effectively squeeze against the wheel when engaged. Then, connect the brake cable to the lever on the handlebars, running it through the guide on the deck and securing it properly. Test the brake by disengaging and engaging it a few times to ensure it works smoothly.
Step 5 Final Adjustments
After assembling the main components, double-check all bolts and screws to ensure they are tightened adequately. Inspect the wheels to confirm they are correctly aligned and rotate freely. It may be a good idea to give the scooter a test push to feel how it handles. Adjust the handlebars if necessary to achieve your desired height and angle.
Conclusion
Once you have thoroughly followed these steps, your Curve 3% Wheel Scooter should be fully assembled and ready for adventure. Remember to always wear a helmet and adhere to local regulations while riding. Regularly check your scooter for any loose parts or wear and tear to ensure a safe and enjoyable ride. Embrace the joy of scooting through your city and enjoy the freedom it brings! Happy riding!
-

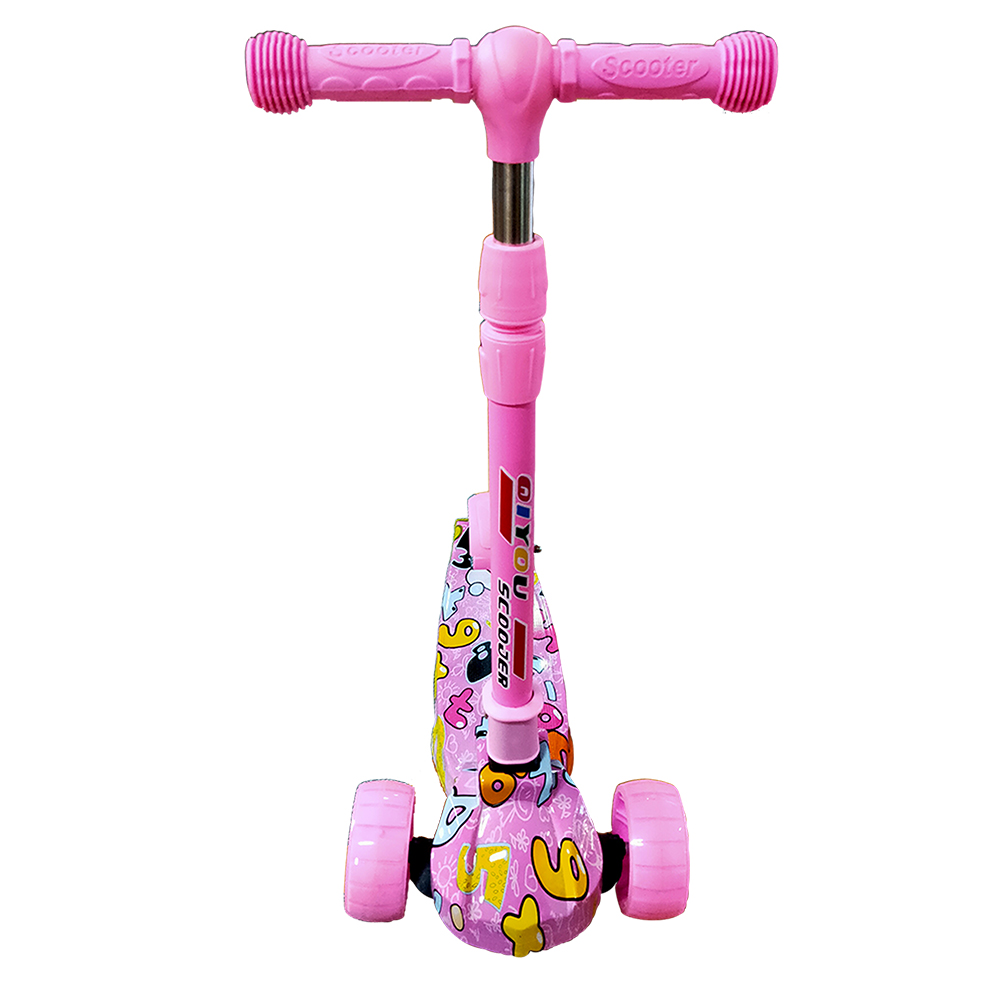 Scoot&RideKids Child Kick Push Scooter 3 Wheels with LED Flashing Tilt Lean Boys Girls Scooter


- 4
$33.17 -

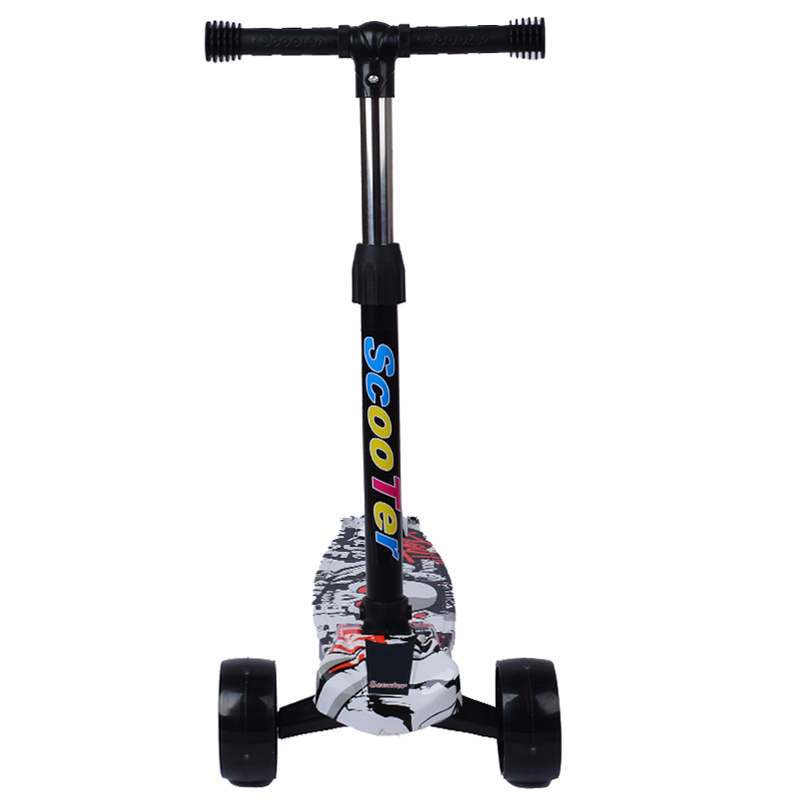 Scoot&RideKids Scooter Child Kick Flashing LED Light Up 3 Wheel Push Adjustable Folding 3
- 0
$25.52 -

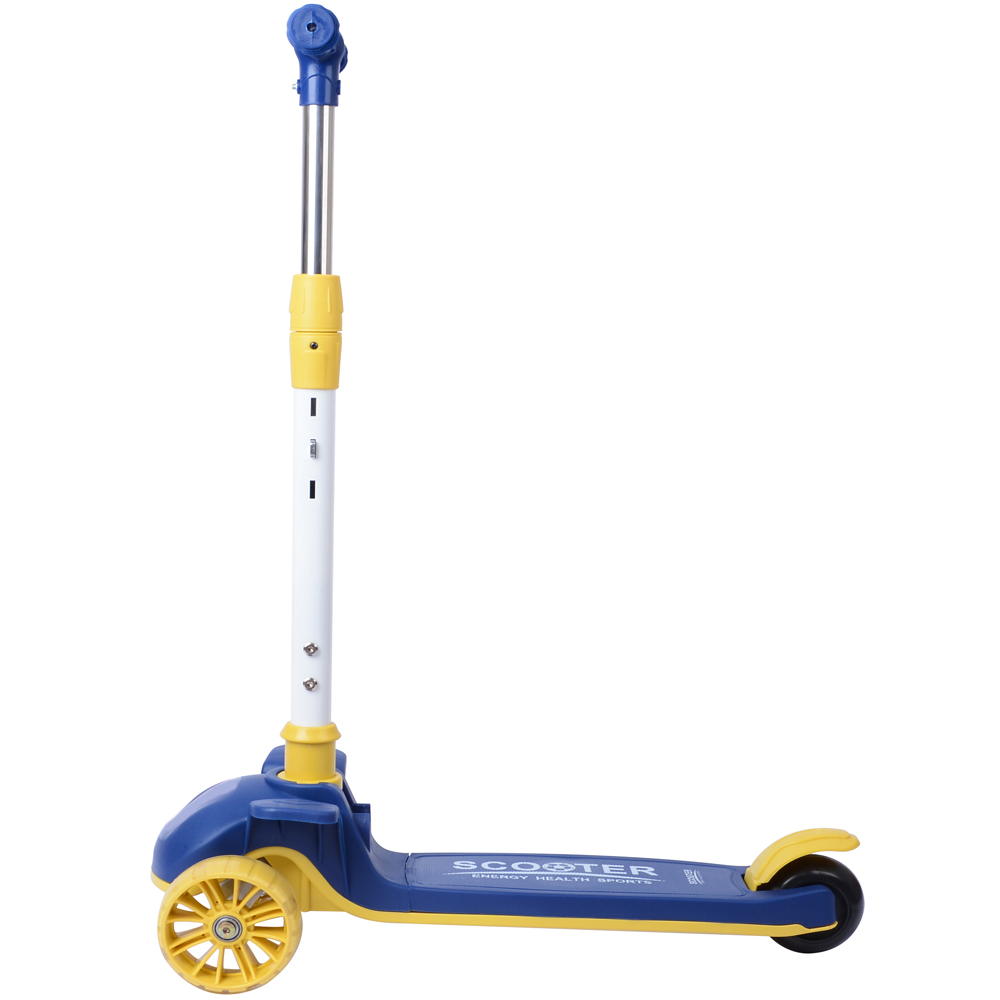 Scoot&RideKids Scooter Child Kick Flashing LED Light Up 3 Wheel Push Adjustable Folding 2
- 0
$33.17 -

 Scoot&RideKids Scooter Teens Foldable Kick Push Scooter Adjustable Height Safe 2 Wheels


- 4
$49.99
Meet our partners and discover what powers their creativity!
When you register for a Lohas scooter, you will receive a 10% discount on your first order and can be notified of sales, new product launches and other offers in advance.


