Building a Kid's Scooter A Fun Project for Young Creators
In a world where technology often overshadows hands-on creativity, building a scooter stands out as a delightful project that combines fun, learning, and physical activity. For children, constructing their own scooter can be both an exciting adventure and an educational experience. Let's explore the steps involved in building a kid's scooter and the benefits this project can offer.
Materials Needed
Before embarking on this creative journey, gather the necessary materials
. Here’s a list of items you might need1. Scooter Deck This is the base of the scooter. It can be made from sturdy wood or plastic. 2. Wheels and Axles Select durable wheels that can support a child’s weight. The axle should fit snugly and allow the wheels to spin freely. 3. Handlebars Choose a material such as metal or sturdy plastic. Ensure they are of the right height for your child. 4. Grip Tape This is essential for safety, providing traction on the deck. 5. Fasteners Screws, bolts, and nuts to secure everything together. 6. Paint and Accessories Non-toxic paint for decoration and stickers to personalize the scooter.
Step-by-Step Guide
1. Design and Planning Begin with a design phase. Encourage your child to sketch their ideal scooter. Discuss features such as colors, shapes, and any favorite characters they might want to include. This phase is crucial as it fosters creativity and critical thinking.
2. Construct the Deck Start by cutting the scooter deck from the chosen material. If using wood, sand the edges to prevent splinters. Once the deck is prepared, apply grip tape to enhance safety. The grip tape will help ensure that your child has a firm footing while riding.
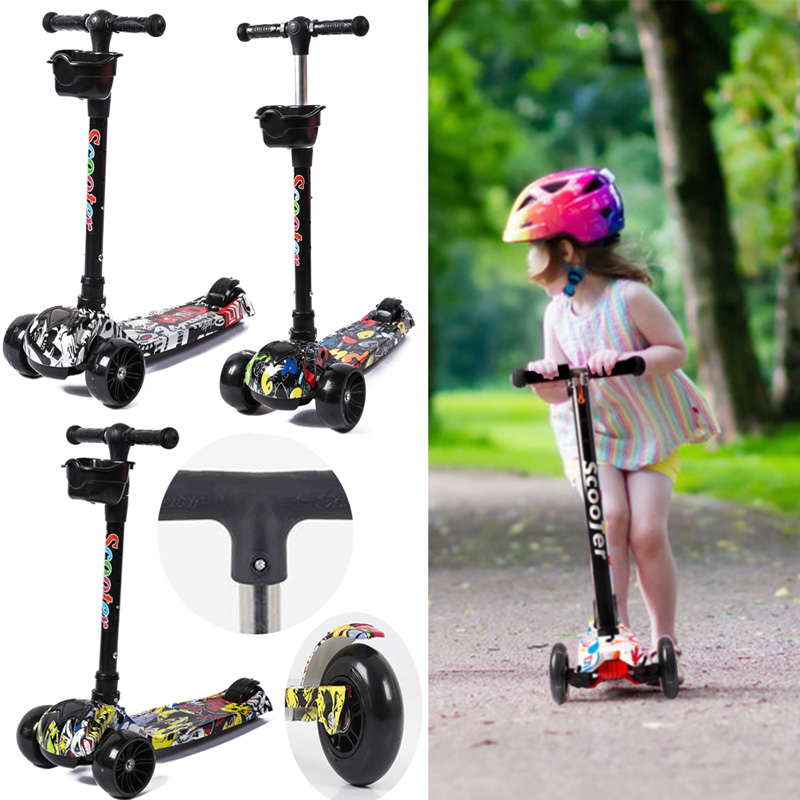
lehuo kid build scooter
3. Attach the Wheels Insert the axles through the wheels and then attach them to the base of the scooter. Make sure the wheels are aligned and can spin smoothly. This step introduces children to mechanical skills and the importance of balance.
4. Installing Handlebars Attach the handlebars securely to the front of the scooter deck. Ensure they are at a comfortable height for your child. This process can help children understand the significance of ergonomics in design.
5. Personalization Let your child take the lead in painting and decorating the scooter. This is a chance for them to express their personality and preferences, making the scooter truly their own.
6. Safety Check Before letting your child ride the scooter, conduct a thorough safety check. Make sure all parts are securely fastened, and there are no sharp edges or protrusions.
Benefits of Building a Scooter
Building a scooter is more than just a fun project; it offers numerous benefits. Firstly, it enhances fine motor skills as children handle tools and assemble parts. Secondly, it promotes problem-solving abilities when they face challenges during construction. Furthermore, working on such a project encourages teamwork and communication, especially if they are building it with friends or family members.
Additionally, understanding the mechanics behind a scooter also creates an appreciation for engineering and design. Children learn the importance of balance, weight distribution, and stability—concepts that are fundamental in various scientific fields.
In conclusion, building a kid's scooter can be a rewarding experience that combines creativity with practical skills. The joy of riding something they’ve built themselves fosters a sense of accomplishment and independence. So, gather your materials, unleash your creativity, and embark on an adventure that blends fun and learning—creating memories that will last a lifetime!

-

 Scoot&RideKids Child Kick Push Scooter 3 Wheels with LED Flashing Tilt Lean Boys Girls Scooter
- 4
$33.17 -
 Scoot&RideKids Scooter Child Kick Flashing LED Light Up 3 Wheel Push Adjustable Folding 3
- 0
$25.52 -
 Scoot&RideKids Scooter Child Kick Flashing LED Light Up 3 Wheel Push Adjustable Folding 2
- 0
$33.17 -
 Scoot&RideKids Scooter Teens Foldable Kick Push Scooter Adjustable Height Safe 2 Wheels
- 4
$49.99
Meet our partners and discover what powers their creativity!
When you register for a Lohas scooter, you will receive a 10% discount on your first order and can be notified of sales, new product launches and other offers in advance.


